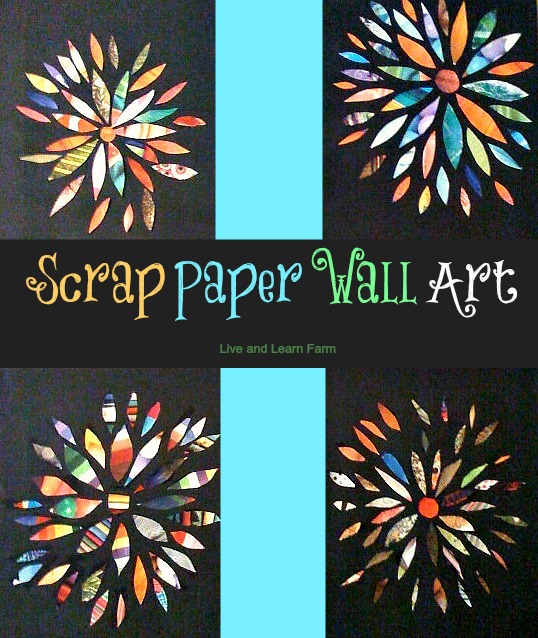
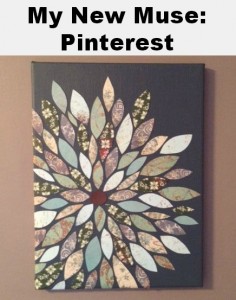
I don’t know about you, but a lot of my inspiration for art projects seems to be coming from Pinterest these days. Pinterest has become my new muse! When I saw this scrap paper wall art on canvas pin last year, I asked the boys about us creating something similar in our homeschool. They loved the idea! And I love the idea of using old catalogues and magazines for something so beautiful!
One thing I want to get better at is just being with my children. Sometimes, I think homeschooling moms forget to just hang out and have fun with our children. We always seem to be focused on the academics, but we need to step back regularly and just be. Remember we are their mom and they need plain ole mommy too! This was one of those projects where we were just together. We got the giggles after we realized that everyone had accidentally painted our pointer fingers black. There was no time table, no schedule, no right or wrong pieces of art. It was laid-back fun and totally fulfilling! We need to do this more often!
The materials list is short and the directions even shorter for this art project, but I’ll list them out anyway.
Materials:
- Art Canvas. We used 11 x 14, but any size will do.
- Black Matte Spray Paint (or any color of choice for your background)
- Scrap paper (we used old catalogs)
- Scissors
- Glue (we used Aleene’s All Purpose Tacky Glue)
Directions:
1 Spray paint the canvas and let dry completely. We painted very light layers and let each layer dry before adding another coat. This process took less than 45 minutes.
2. Cut out scrap paper from any source. I imagine even scraps cut from book print would look great if you used a more colorful backdrop. We used lots and lots of catalogs. I knew being on all those mailing lists would eventually pay off! For my Montessori friends, if you look really close at the art piece in the upper right hand corner, you are going to see beads! Sort of like the “Finding Waldo” prints! I’ll never tell which catalog I cut up! (hint, hint… the supplier was way too expensive for us to afford on our budget). Finally, cut a circle for the center in a contrasting but complimentary color.
3. Organize the pieces on the canvas and glue in place once you like the shape and location. That’s it!
It was one of the most rewarding art projects we have completed in a long time. Not because of the product created, but the process we used to get there! I hung our pieces together to create a collage in our entrance foyer. They serve as a reminder to take time to just be. What do you think?

Until Next Time…
You may also like -
Trish Corlew
Latest posts by Trish Corlew (see all)
- 10 Fun and Educational Preschool Board Games - April 25, 2015
- March Menu Plan for Busy Homeschool Moms - March 10, 2015
- Middle and High School August LinkUp #24 - August 5, 2014
- Modeling Life-Long Learning - June 23, 2014
- The New Chapter – Day 1 with Free Printable - June 20, 2014


[…] as I was saying, Pinterest has become my new muse! Up until now, I have never had time to investigate my creative […]