
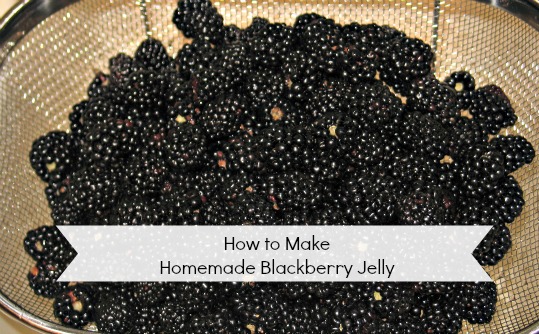
We planted blackberry bushes 5 years ago and this year they have produced a bumper crop! We have already picked five gallons of berries and there are that many plus much more still on the bushes! I made blackberry jelly with my sister-in-law last year, and our boys just loved it! So, I knew I was going to be making jelly this year, but I’ve never made it on my own. So, as the name of our blog implies, we learn by doing around here, so today, hubby and I made 21+ pints of blackberry jelly in six batches. Since hubby manned the juicer, I guess I wasn’t completely on my own, but I was the primary and he was the assistant, LOL! So here’s how to make homemade blackberry jelly!
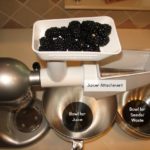
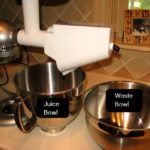
We started with 5 gallons of blackberries that we have been picking over the course of a week and putting in our refrigerator to keep. We juiced all 5 gallons of berries and they produced about 24 cups of blackberry juice. To juice the blackberries, we used our KitchenAid Mixer. The KitchenAid Mixer has an attachment that is specifically for juicing. I know lots of folks buy a separate juicer, but I like to really get the full use of our kitchen equipment, especially ones that you invest in like a KitchenAid!! Besides, you can spend as much on a juicer as we did on our mixer! We even grind wheat with an attachment to this mixer! It is simply a workhorse and worth every dime you pay for them! We did have to clean out the juice attachment once while processing the 5 gallons of blackberries. But that was not much work at all.
- KitchenAid with Juice Attachment
- Berries Loaded
- Juicer in Action
(Note to self: I really should not call the by-product of juicing “waste” because we feed it to our chickens and they were some kinda’ happy to get blackberries!)
The Sure-Jell directions as well as our Ball Canning Recipe Book both were VERY emphatic about not making a double batch and that the measurements needed to be exact, so I ended up making six individual batches of blackberry jelly.
Ingredients per batch (Use precise measurements):
3 3/4 cups of Blackberry Juice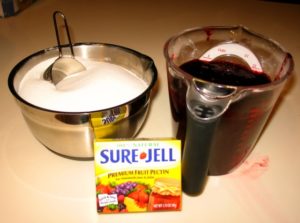
4 1/2 cups of Sugar
1 Box of Dry Pectin
1/2 Teaspoon of Unsalted Butter
Equipment needed:
7 Half-Pint Jars or 3 Pint Jars and 1 Half-Pint Jar
Lids and Rings for Jars
6-8 Quart Stainless Steel Pot (to cook Jelly) NOTE: I found this great deal on Amazon!!
Small Stainless Steel Saucepan (to keep lids in hot water)
Large Pot for Water Bath for Canning
Ladle
Jar Funnel
2 Measuring Cups (One for Dry and one for Wet ingredients)
Knife (to cut butter)
Wash Cloth (to wipe jar tops after filling so lids can seal)
Magnetic Wand (to retrieve lids from hot water)
Directions:
Step One. Wash jars, lids and rings in warm soapy water and rinse well.
Step Two. Put Jars in large canning pot for the water bath to get them hot and lids in the smaller pot to keep them hot.
Step Three. Pour 3 3/4 cups of Juice in Stainless Steel pot and add 1/2 teaspoon of butter and one package of dry pectin and cook on high stirring constantly.
Step Four. Once Juice has reached a boil that you can’t stir back down, add sugar, stirring in one cup at a time, but being quick about it! Let boil for one minute.
Step Five. Move juice off heat. Using the jar tongs, retrieve all the jars from the water bath (draining them back in the pot as you go). Get funnel in the first jar and ladle in the jelly. Move as quickly as possible.
Step Six. Wipe the rim of the jar and place the lid and ring on. Tighten down rings and move to filling the next jar.
Step Seven. Once all the jars are filled and closed, using the jar tongs, place the jars back into the canning pot water bath. Bring to a boil.
Step Eight. Boil for five minutes and remove from water using the jar tongs.
Step Nine. Let sit undisturbed for 24 hours.
Over the next 30 minutes or so, be listening for the “pop” of the lids to show that they sealed correctly. Once the jars have cooled, you can check to see if they are sealed by pressing in the center of the lid gently. If the lid pops up and down (making a popping sound), the jar is not sealed. But, if you put the jar in the refrigerator immediately you can still eat this jelly.
Just so you know, it gets quite hectic once you put the jelly on the stove to boil. From that point until the jars are filled and back in the water bath, it is pretty non-stop action. It is not hard to make jelly and it doesn’t take long to get a routine going, but having an extra set of hands really helps during these steps. I’m pretty sure I would not recommend doing six batches one after the other, but this project is off my list now! I love marking things off my to do list! Plus this is a pretty messy process (notice the spill beside the juice in the picture above). So, I wanted to process all the blackberry juice we had already made. We had to clorox our white counter-tops to get all the blackberry stains off after I finished!
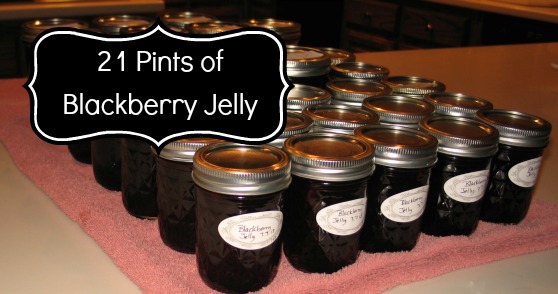
Cost breakdown per batch:
We already had all the equipment, so those items are not considered in the cost analysis. For one gallon of blackberries, expect to get approximately 3.5 pints of jelly.
Blackberries – $0.00
Sugar $1.61
Dry-Pectin $2.50
Butter $0.05
Jars $5.00
Equals about $2.62 per pint…. and it’s homemade! Gotta’ love it!
So, now that I am an expert at this whole making jelly thing, I figured I needed to write a post to teach you how to make homemade blackberry jelly too! LOL! Honestly, my boys said it’s better than Aunt Neal’s jelly (don’t tell her that though). So, even though I may be a newbie, I was a successful one! PS… that is quite the compliment, it’s hard to top Aunt Neal at anything, much less at cooking!
Until next time…
You may also like -
Trish Corlew
Latest posts by Trish Corlew (see all)
- 10 Fun and Educational Preschool Board Games - April 25, 2015
- March Menu Plan for Busy Homeschool Moms - March 10, 2015
- Middle and High School August LinkUp #24 - August 5, 2014
- Modeling Life-Long Learning - June 23, 2014
- The New Chapter – Day 1 with Free Printable - June 20, 2014


I am SO glad to have come across this because I seriously love blackberry jelly but so many times its full of the seeds…which I hate!! Anyway, thank you for such detailed directions! I will be pinning and probably using very soon as our very likely to be future home has several blackberry bushes already there!
Helen
Blue Eyed Beauty Blog
Exercise Encouragement GROUP Blog
Hey Helen! Thanks for visiting and for the encouragement! We made jam our first go around and my boys did not like it either! So we had to figure out a way to get the seeds out too! If you do make it stop back by and let me know how it turns out! On the agenda next is making plum jam! Be sure to subscribe to our blog and see how that turns out too! So glad to meet you!
Awwww….how sweet of you to say…Great Job! I knew you could do it….you can do anything you set your mind too….. 🙂 Keep it up!
Thanks Aunt Neal! Love you!
Looks delicious! I’ve yet to attempt jelly, probably because I tend to grow veggies more than fruit. But, my parents have wild blackberries growing all over their yard. I think I’m going to have to try this. Thanks for the inspiration!
I would never have thought to use a juicer to make jelly. Only one of my children likes blackberry preserves which we have made instead of jelly. Mostly, we eat them whole, but we don’t produce nearly as many blackberries as you. That is awesome! Now, I am thinking I need to plant some more blackberries in another part of our yard.